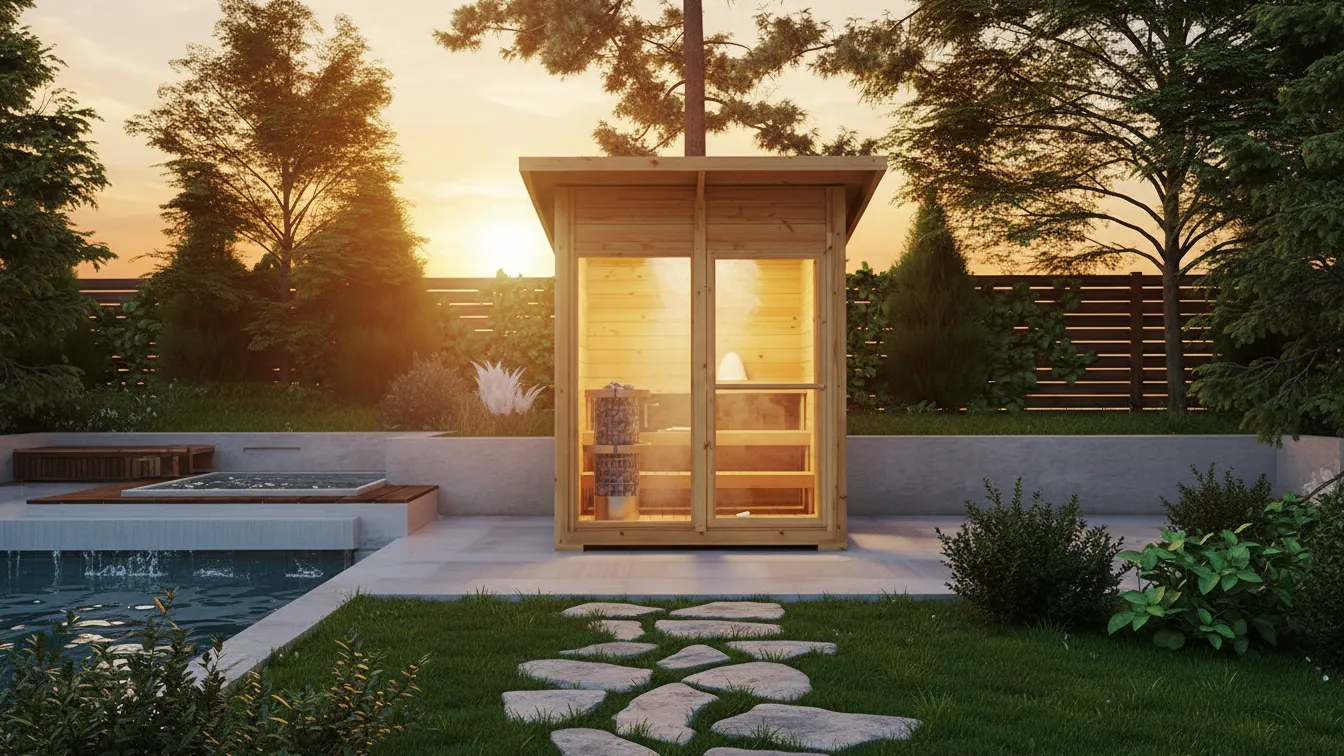
Shed-to-Sauna Conversion: Structure, Cost & Safety

A garden shed can look like a ready-made sauna building: it already has a roof, walls, a door and a place in the yard. But storage sheds are not automatically designed for heater clearances, sustained heat, added moisture or the weight of finished benches. The real decision is whether the existing structure is worth adapting after the required sauna construction is priced.
Quick answer: You may be able to convert a structurally sound, dry shed into a sauna, but expect to assess its foundation, roof, wall assembly, finished dimensions, heater, ventilation, electrical supply and permits. If repairs and upgrades approach the cost of a purpose-built sauna, reuse may not save money.
The REUSE / REPAIR / REBUILD worksheet below helps identify which costs and safety conditions to verify before removing the first wall panel. It is a homeowner planning tool, not a structural or fire-safety approval.
Can You Convert an Existing Shed Into a Sauna?
A conversion can work when the outbuilding provides a stable, weather-tight shell and enough finished space for a sauna room. The project involves building the correct heated enclosure inside that shell rather than installing a heater directly beside ordinary shed timber and declaring the work complete.
Some sheds are better candidates than others. A solid outbuilding with verified supports, dry framing, a serviceable roof and good access may offer value. A leaning, leaking shed with a rotting floor, poor foundations or too little finished headroom may cost more to upgrade than to replace.
| Existing shed condition | Initial decision | Reason |
|---|---|---|
| Dry, stable shell; accessible foundation; adequate footprint | Consider REUSE after professional checks | May avoid some shell and site construction |
| Minor roof or drainage repairs; frame otherwise sound | Price REPAIR before committing | Costs must be compared with a new build |
| Recurring leaks, soft floor, visibly distorted framing or uncertain supports | STOP until assessed | Existing structure may be unsafe or unfit for conversion |
| Too narrow after insulation and bench clearances | Compare REBUILD or relocation | Original external dimensions can be misleading |
| Site conflicts with boundaries, access or service routes | Review siting and permits first | An existing shed’s current use may not authorize its conversion |
A conversion plan should include an alternative quote for a new sauna or prefabricated outdoor cabin. That comparison keeps the original shed from becoming a sunk-cost trap.
Inspect the Shed Structure Before Buying Sauna Materials
Start outside. Check the roof covering and flashing, gutters, cladding, bottom edges of the walls, door frame, and contact between timber and the ground. Indoors, look for evidence of repeated water entry, moldy or soft surfaces, sagging rafters, poor ventilation, gaps and movement. Record what you can see safely, without dismantling suspect structural elements.
The U.S. Environmental Protection Agency recommends fixing water sources rather than concealing wet materials. Its moisture guidance warns against enclosing materials that remain wet or show biological growth. A sauna lining is not a mold repair.
What should a builder or inspector confirm?
- The existing floor, foundation and framing can safely support the finished room, occupants, benches and any equipment.
- Roof and exterior cladding will keep rain and melting snow out after new vent openings and service penetrations.
- Door and window openings do not undermine structural bracing or weather resistance.
- Any decay, insect damage, historic flooding or uneven settlement has been properly investigated.
- The selected system can be built without violating required fire separation, heater clearances or local code.
Do not make a structural pass/fail decision from a photo or a single screw test. If the structure feels unstable or its load path is unclear, seek a qualified assessment before continuing.
Foundation, Ground Clearance and Drainage
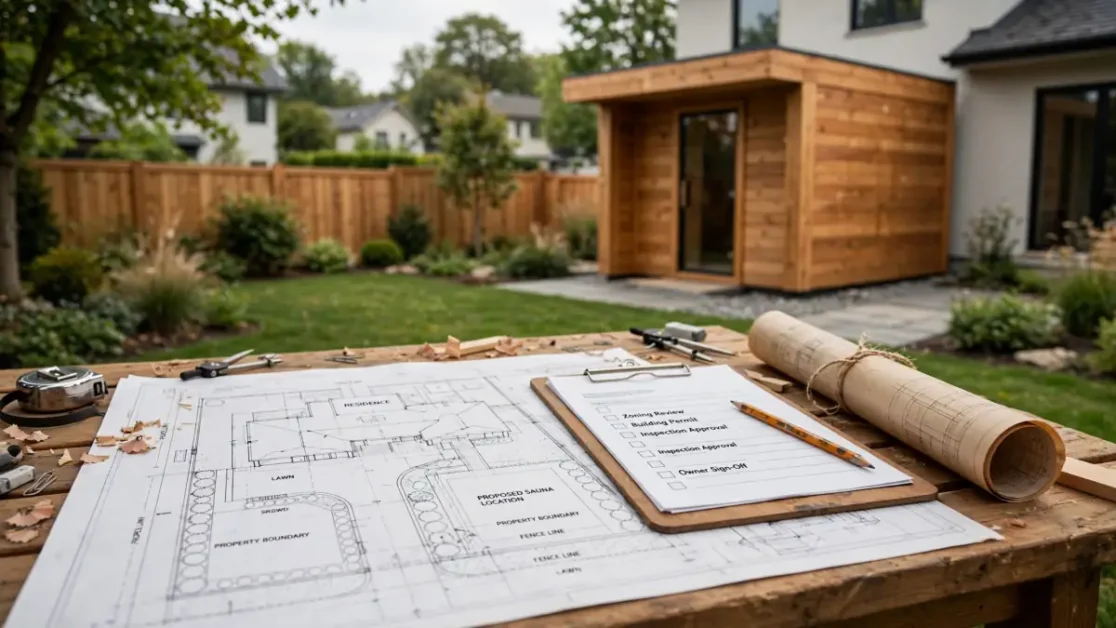
A shed may have a simple floor standing on blocks, skids, a slab or another support. That arrangement may have served garden-tool storage but still be unsuitable for a finished sauna. Identify what supports the walls and floor, how groundwater moves across the site, and where rain splashes or accumulates.
Before installing flooring or insulation, address poor surface drainage, damp ground beneath the building, missing support and unplanned water flow from sauna use. The practical requirement is a safe, stable, dry assembly matching the chosen sauna and local conditions, not one universal slab thickness or drain detail.
Ask whether you will pour water on sauna stones, wash the floor with water, or use only dry cleaning. The answer affects the finish, waterproofing, drain requirements and drying process. The sauna flooring guide explains these decisions in more detail.
Measure the Finished Room, Not the Empty Shed
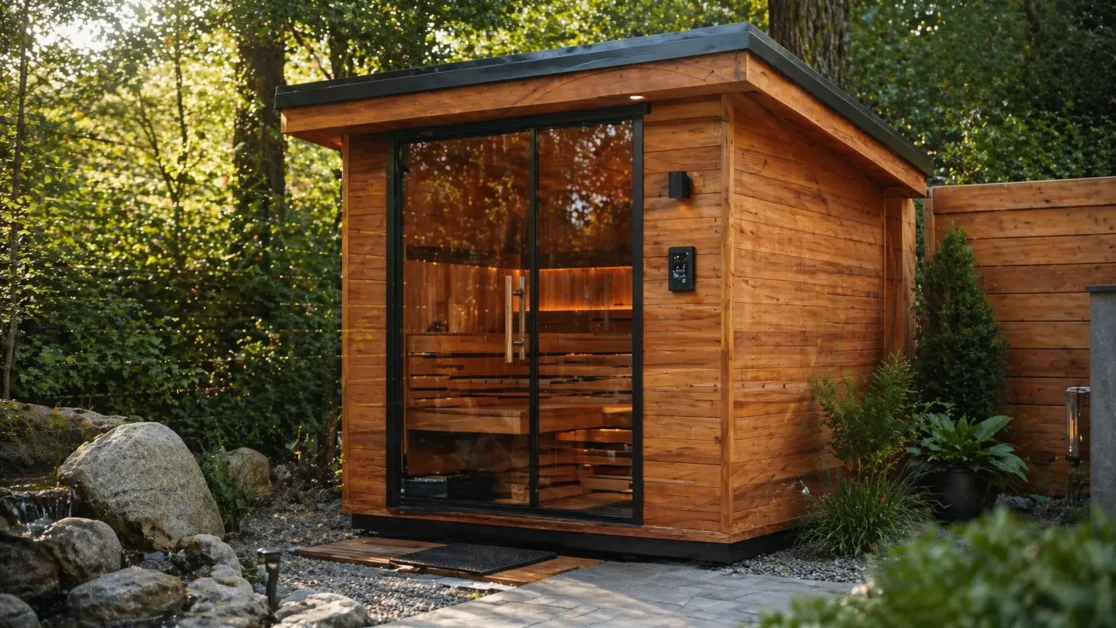
A shed’s advertised external size overstates the usable interior. Insulation, furring, moisture-control layers, interior paneling and any new floor build-up take space. A good conversion sketch starts with measured inside dimensions and subtracts the assemblies the chosen design actually needs.
| Measurement to record | Before conversion | After planned build-up |
|---|---|---|
| Clear inside width | _____ | _____ |
| Clear inside length | _____ | _____ |
| Clear roof or ceiling height | _____ | _____ |
| Door opening and route | _____ | _____ |
| Bench seating area | _____ | _____ |
| Heater and required clearance area | _____ | _____ |
| Space for changing or cooling | _____ | _____ |
The finished room must also fit the proposed heater and its required minimum height, bench layout, temperature-sensor position, door swing and route for servicing equipment. A universal bench dimension copied from a blog is not a substitute for the chosen equipment’s installation instructions. Start with the sauna size guide, then verify the final plan against the manufacturer.
Insulation, Vapor Control and Moisture Drying
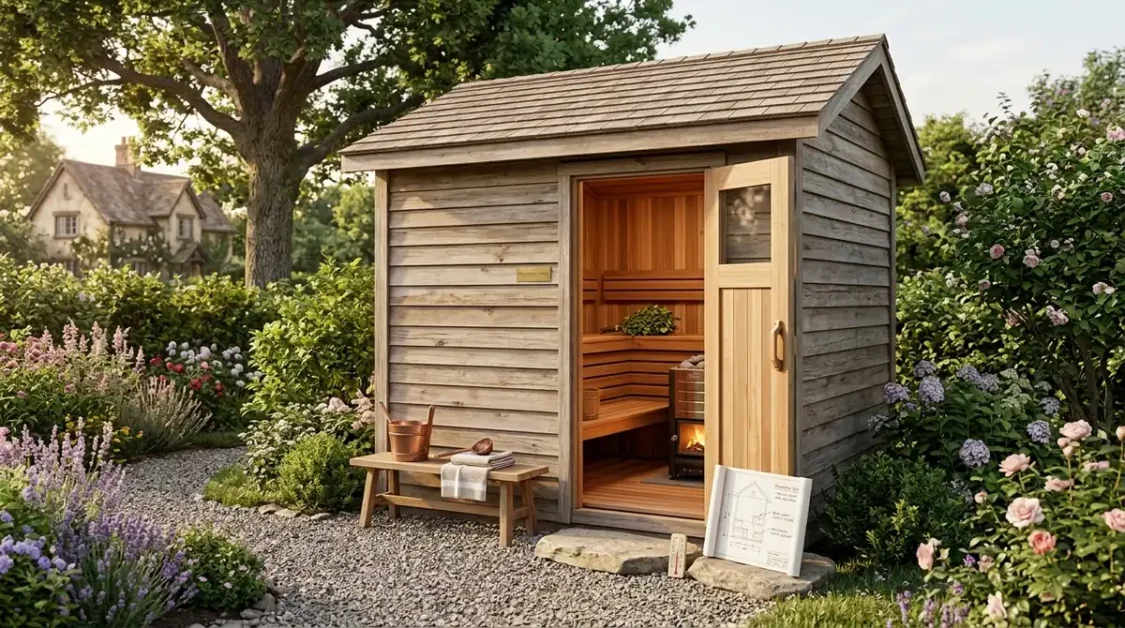
A common conversion mistake is lining a shed with attractive wood without designing the whole enclosure. A traditional electric sauna usually needs an insulation and moisture-control assembly suited to the heater, local climate and existing structure. Inappropriate materials or an unplanned vapor barrier can trap moisture between the new sauna lining and shed siding.
Do not assume every shed wall should receive the same foil, plastic or insulation recipe. First establish what is already in the shed wall and whether the exterior needs to dry in a particular direction. Have the specified product assembly and local climate considered by a builder who understands moisture control.
Water vapor can condense on cold surfaces, and moisture trapped in concealed cavities can go unnoticed. EPA explains this risk in its indoor moisture guidance. For sauna-specific materials and layers, consult the sauna insulation guide and the exact heater or panel-system manual.
Which wood belongs inside?
Select sauna-rated paneling and suitable bench wood for the temperatures and contact surfaces involved. Exterior shed cladding and interior bench boards serve different roles. Avoid ordinary coatings, adhesives and unknown treated materials in the heated space unless the product manufacturer explicitly approves their use. Our sauna wood comparison separates wall, ceiling, bench and exterior choices.
Heater Selection and Fire Safety
A safe shed conversion starts with a particular heater make and model. The required supply voltage, operating room volume, minimum room height, mounting method, distances to combustible materials and sensor/control position come from that equipment’s actual documentation.
Harvia states that heater-specific safety distances must be observed to avoid fire risk. Do not move a bench or protective rail closer than allowed just to fit the shed’s original footprint.
A wood-fired stove adds chimney penetrations, solid-fuel rules, combustion-air considerations and more detailed protection of nearby surfaces. The Harvia wood-burning heater guidance highlights chimney positioning and model-specific clearances. Never adapt a portable camping stove or outdoor heater to an enclosed shed without explicit manufacturer approval and professionally reviewed design.
What about the door and emergency exit?
The door should open and release according to the sauna manufacturer and applicable building rules, without being blocked by tools, furniture, snow buildup or outdoor steps. Sauna doors are not ordinary shed security doors. Check hardware temperature suitability and free exit from inside using the sauna door guide.
Ventilation and Drying for an Outdoor Shed Sauna
The heated room needs its own planned intake and exhaust, and the shed’s outer structure needs a way to manage any moisture that escapes the enclosure. Air should not be exhausted into a closed roof cavity. The final arrangement depends on the heater, mechanical versus gravity ventilation, prevailing outdoor conditions and drying needs.
Harvia’s ventilation instructions distinguish electric and wood-fired systems and describe different vent locations. That is why copying a generic two-hole diagram can be misleading. Verify air paths before paneling hides the walls.
Think through how the building dries after use during a rainy season or cold spell. Check wet benches, door thresholds, condensation around roof penetrations and the surroundings after the first commissioning cycles. If moisture accumulates, stop and correct the assembly or ventilation issue rather than assuming the heater will dry everything.
Electricity, Water and Local Permit Checks
Converting a shed from storage to a heated room may change the permitted use of the structure and the work allowed at that location. Ask the building department about zoning setbacks, electrical permits, inspections, structural work, and any requirements for outdoor heating equipment. The fact that the original shed exists does not establish approval for a sauna.
Give the electrician the exact heater and controller details, cable route to the shed, trench or conduit plan and any proposed lighting. Never improvise extension cords or use nonapproved equipment near the heater. The sauna electrical requirements guide explains what to document before a quote.
Plan water supply and drainage according to the intended use, not as assumed extras. A shower or wet changing area may require entirely different plumbing and waterproofing than a dry changing nook. Ask contractors to distinguish mandatory work from optional upgrades.
Shed-to-Sauna Conversion Plan: Construction Order
A useful sequence starts with approvals and ends with commissioning. Moving a heater into a shed before planning these tasks can force costly rework.
- 1. Survey the shed: document dimensions, framing, foundation, roof, dampness and existing services.
- 2. Confirm feasibility: get the structural, manufacturer, electrical and planning questions answered before buying.
- 3. Fix the shell: repair roof, exterior drainage, framing or floor defects identified during assessment.
- 4. Finalize the enclosure: specify insulation, moisture control, cladding, benches and door components compatible with the chosen sauna.
- 5. Mark service locations: confirm heater, controls, ventilation routes, lighting, sensors and any plumbing before closing walls.
- 6. Complete permitted work: let qualified trades handle electrical and other regulated installation tasks.
- 7. Test and hand over: follow the manual’s startup procedure, verify free exit, inspect for moisture and retain inspection/warranty records.
To compare the total project scope against buying a new kit, use the DIY versus kit versus professional installation guide. It covers build-method differences without replacing this shed-specific site assessment.
Shed Conversion Cost: Reuse, Repair or Rebuild?
A new heater, timber interior and ventilation system can represent most of a conversion’s cost even if the outer shell is free. Add foundation repairs, weatherproofing, labor, delivery and electrical service. Do not rely on one national price per square foot for every shed or claim that conversion is always cheaper.
| Budget item | Reuse existing shed | Repair then convert | Purpose-built sauna |
|---|---|---|---|
| Existing structural condition | Document verified condition | Include repair quote | New design and materials |
| Foundation and weatherproofing | Verify or allow repairs | Price full repairs | Price new site work |
| Interior sauna construction | Price insulation, panels and benches | Same, plus repairs | Compare supplied enclosure |
| Heater, ventilation and electrical | Price complete system | Price complete system | Price complete system |
| Permits, labor and contingency | Include all applicable items | Include all applicable items | Include all applicable items |
| Warranty and future service | Check old-shell limitations | Check repair warranties | Compare new-product terms |
Collect at least a comparable scope for two scenarios rather than assuming the shed you already own must be kept. A repaired shed with unknown structural life may cost more over time than a properly designed cabin. The home sauna cost worksheet can hold the numbers from your local quotes.
Reuse, Repair or Rebuild Decision Worksheet
Mark every row as PASS, REPAIR QUOTE or STOP. A PASS means the evidence needed for that question has been checked; it does not certify structural safety.
Free planning tools: Download the Shed-to-Sauna Reuse, Repair or Rebuild Worksheet (PDF) for the site and structure assessment. Then use the Shed-to-Sauna Cost Comparison Calculator (Excel) to enter your real contractor quotes and compare options. Neither tool substitutes for structural, electrical, or fire-safety approval.
| What to evaluate | Evidence to collect | Outcome |
|---|---|---|
| Foundation and load path | Builder review, support condition and site photos | PASS / REPAIR / STOP |
| Roof and exterior walls | Leak history, rot inspection and necessary repairs | PASS / REPAIR / STOP |
| Finished size and benches | Measured layout with heater and door clearances | PASS / REPAIR / STOP |
| Sauna wall and ceiling assembly | Installer plan for insulation, cladding and moisture control | PASS / REPAIR / STOP |
| Heater and fire clearances | Exact manufacturer model and manual | PASS / REPAIR / STOP |
| Ventilation and drying | Intake, exhaust and post-session dry-out plan | PASS / REPAIR / STOP |
| Electric supply and permits | Electrician estimate and building department response | PASS / REPAIR / STOP |
| Total conversion vs new-build budget | Itemized quotes with similar scope and contingency | REUSE / REPAIR / REBUILD |
Choose REUSE only if the shell is sound and the completed project makes sense. Choose REPAIR if specific defects have a credible fix and written cost. Choose REBUILD if the shell is structurally questionable, space is inadequate, or repair work erases the advantage of conversion. Never treat a low purchase price as evidence that a heater installation is safe.
Common Shed Sauna Mistakes
- Concealing roof leaks or damp framing beneath new sauna paneling.
- Using the shed’s exterior dimensions for heater sizing without allowing for the actual finished enclosure.
- Selecting a heater before checking its minimum clearances and appropriate room volume.
- Applying one vapor-barrier recipe to every wall without considering climate and existing layers.
- Skipping an electrician or assuming a garden outlet is sufficient.
- Leaving exhaust and drying decisions until after paneling is installed.
- Keeping an ordinary lockable shed latch that could impede safe exit.
- Comparing only material costs while ignoring foundation repairs, permits, labor and maintenance.
Shed-to-Sauna FAQs
Can a cheap wooden garden shed become a sauna?
Possibly, but purchase price says little about structural condition, weather resistance, adequate space or heater approval. A fragile or damp shed can be more expensive to correct than a new purpose-built building.
Do I need a foil vapor barrier in a converted shed?
Some traditional sauna assemblies specify a foil moisture-control layer, but the correct materials and continuity depend on the sauna system and the existing shed wall. Verify with the manufacturer and someone competent to assess local drying conditions; avoid universal layer recipes.
Can I use a standard shed door?
Do not assume so. The door and hardware must be compatible with heat, necessary airflow and easy safe exit. A lockable storage-shed latch is not an acceptable substitute for a suitable sauna exit design.
Should I use an electric or wood-burning heater?
Choose based on the exact building, allowed equipment, power or chimney requirements and professional review. Both require model-specific clearances and approvals; a wood stove adds combustion and flue considerations.
Do I need planning permission or a permit?
It depends on the location, work scope, zoning, building and electrical rules, and any change in permitted use. Check with the local authority before assuming an existing shed is exempt.
Make the Conversion Decision Before You Buy
Take measurements, photograph the shed’s condition and request itemized estimates for converting the existing shell and buying a purpose-built sauna. The winner is the option that safely fits the space and meets the manufacturer’s rules, not automatically the one that reuses the most timber.