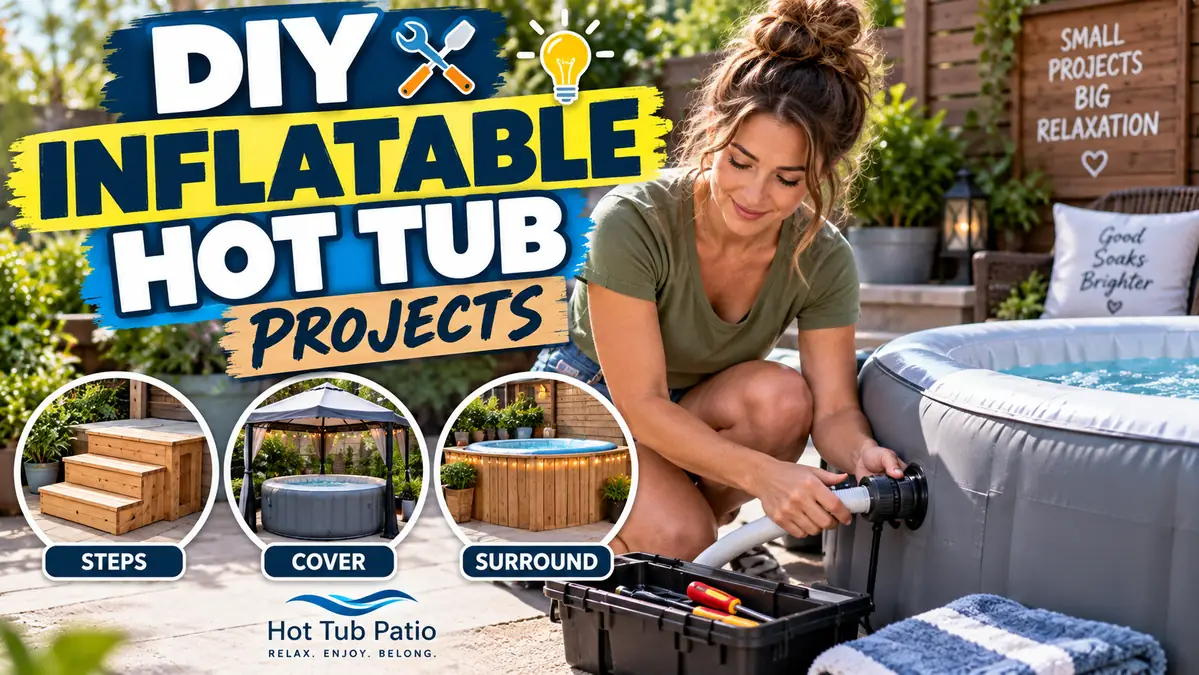
DIY Inflatable Hot Tub Projects: 9 Safe Backyard Ideas

DIY inflatable hot tub projects work best when they improve the area around the spa without modifying the spa itself. A level protective base, privacy screen, towel station, storage bench, non-slip path, low-voltage lighting, and a removable surround can make an inflatable hot tub easier to use and better looking without interfering with the heater, pump, liner, or electrical system.
The key is knowing which projects are simple weekend upgrades and which ones need structural or electrical help. A filled inflatable hot tub can weigh several thousand pounds, and major manufacturers commonly warn against extension cords and unauthorized modifications. Start with the safe, low-risk projects below, and treat decks, permanent structures, and electrical work as separate jobs that may need a qualified professional.
9 DIY Inflatable Hot Tub Projects Worth Doing
| Project | Difficulty | Best for |
|---|---|---|
| Protective base and underlay | Easy to moderate | Level support and liner protection |
| Freestanding privacy screen | Easy | Backyards with close neighbors |
| Towel and robe station | Easy | Keeping wet items off the ground |
| Storage bench | Easy to moderate | Covers, towels, and accessories |
| Non-slip entry path | Easy | Safer entry and exit |
| Solar or battery lighting | Easy | Nighttime visibility and atmosphere |
| Removable decorative surround | Moderate | Hiding the inflatable look |
| Cover storage station | Easy | Keeping the cover clean and accessible |
| Inflatable repair station | Easy | Quick response to small leaks |
Before You Build: Three Safety Checks
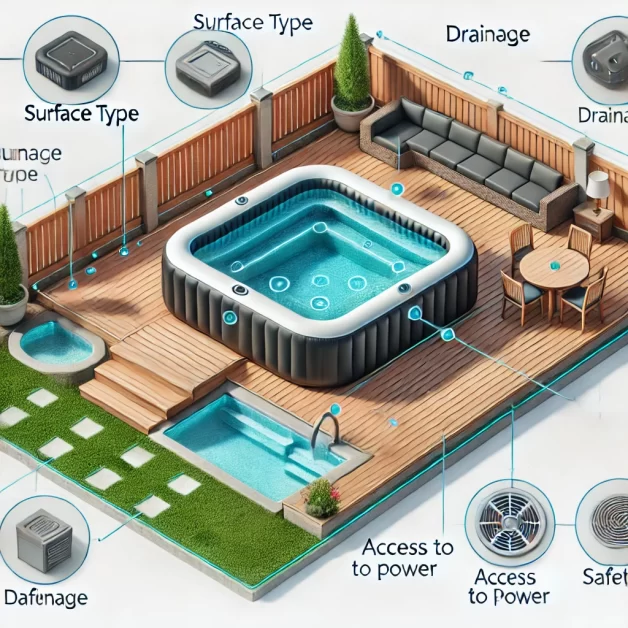
Before buying lumber, pavers, tiles, or privacy panels, check three things: the supporting surface, the electrical setup, and the access required by your specific spa model.
1. Confirm the Surface Can Support the Filled Spa
Water is the largest part of the load. A 250-gallon spa holds more than 2,000 pounds of water before you add the tub, pump, accessories, and people. Do not assume an existing deck, porch, balcony, or raised platform is strong enough.
If the spa will sit on an elevated structure, use the model’s filled weight and dimensions and have the structure evaluated for that concentrated load. Our guide to inflatable hot tub weight explains what goes into the total, while our inflatable hot tub on a deck guide covers the deck-specific questions.
2. Do Not DIY the Spa’s Electrical System
Bestway and Intex manuals commonly require a grounded outlet and warn against using an extension cord. Their portable spas also use GFCI or RCD protection that should be tested as directed by the manufacturer. The U.S. Consumer Product Safety Commission recommends GFCI protection for electrical equipment used with pools, hot tubs, and spas.
That means a DIY project should not include splicing the power cable, moving the heater wiring, bypassing the GFCI or RCD, adding a timer that the manual does not allow, or using an extension cord to reach the spa. If the factory cord cannot reach the required outlet, the fix is a properly located electrical supply installed in accordance with the spa manual and local code.
3. Keep the Pump, Drain, Cover, and Liner Accessible
A beautiful surround becomes a problem if you have to dismantle it to clean the filter, reach the drain, remove the pump, repair a leak, or take the spa down for storage. Some manufacturer instructions specify clearance around the spa, so use your model’s manual rather than copying a fixed clearance from someone else’s project.
Project 1: Build a Better Base and Underlay
The best first project is usually under the tub. An inflatable spa needs a firm, smooth, level surface that supports the full footprint without sharp objects or low spots.
Good options may include a sound concrete patio, a properly prepared paver area, a manufacturer-approved spa pad, or another level base allowed by your spa manual. Add the supplied ground cloth or an approved protective mat if the manufacturer recommends one.
Avoid setting the tub directly on loose pallets, sharp gravel, roots, or an improvised platform with gaps that can create pressure points under the liner. If you are starting from bare soil, our hot tub base guide compares concrete, compacted gravel systems, spa pads, and other foundation options.
Project 2: Add a Freestanding Privacy Screen
A privacy screen gives a big visual payoff without touching the spa. Use a freestanding outdoor screen, fence panel, lattice frame, tall planters, or outdoor curtains supported by a separate structure.
- Keep the screen independent from the inflatable wall.
- Leave access to the pump, drain, and filter housing.
- Anchor freestanding panels so wind cannot blow them into the spa.
- Do not create a tight enclosure that conflicts with manufacturer ventilation or clearance requirements.
For layouts using plants, curtains, screens, or fencing, see these hot tub privacy ideas.
Project 3: Make a Towel and Robe Station
A towel station is one of the easiest projects because it improves the experience without affecting the spa. Use an outdoor-rated freestanding rack, hooks mounted to a nearby fence or wall, or a simple covered shelf outside the splash zone.
Keep clean towels high enough to stay dry and add a separate waterproof bin for wet swimsuits. Avoid hanging heavy racks or hooks from the inflatable wall.
Project 4: Add a Freestanding Storage Bench
A weather-resistant bench can give you a place to sit while also storing towels, testing supplies, and nonchemical accessories. Position it beside the spa rather than against the soft wall.
Store hot tub chemicals according to their labels in a secure, dry location away from children and pets. Do not treat a general-purpose bench as chemical storage unless the product and chemical labels allow that use.
Project 5: Create a Non-Slip Entry Path
The area where people step in and out gets wet quickly. A simple project is to improve the walking route with outdoor-rated non-slip mats, textured pavers, or another stable walking surface that drains well.
If you add steps, use a stable product intended for spa access and place it on a firm surface. Do not build steps that lean on the inflatable wall for support. Keep the path free of cords, hoses, planters, and other trip hazards.
Project 6: Use Solar or Battery Lighting
Lighting around the path and steps makes the area easier to use at night. Solar stake lights, battery lanterns, and other suitable low-risk options can add visibility without running household extension cords through a wet area.
The CPSC recommends battery-operated products whenever possible around pools, hot tubs, and spas and stresses keeping electrical equipment dry. Avoid placing plug-in speakers, lights, chargers, or other appliances close to the water.
Project 7: Build a Removable Decorative Surround
A surround can make an inflatable spa look more intentional, but it should behave like outdoor furniture, not like part of the spa structure.
- Make sections removable so the liner and pump remain accessible.
- Do not screw, clamp, glue, or fasten anything to the inflatable shell.
- Do not let benches or tables press into the sidewall.
- Keep the cover path clear.
- Use outdoor-rated materials and smooth finished edges near the liner.
A partial surround is often more practical than boxing in the entire spa. It gives you a finished look while leaving one side open for the pump, controls, and service access.
Project 8: Make a Cover Storage Spot
Inflatable spa covers take up more room than expected once removed. A simple horizontal rack, clean storage mat, or protected bench area can keep the cover off muddy ground without folding or damaging it.
Do not store heavy items on top of the cover. If heat retention is your priority, our guide to inflatable hot tub covers explains the different cover and insulation options.
Project 9: Create a Small Repair Station
Inflatable tubs are repairable when a small puncture or air leak is caught early. Keep the model manual, compatible patch material, cleaning cloths, a marker, and the correct adhesive together in a dry container.
The repair process depends on the liner material and patch product, so follow the kit instructions rather than improvising with household glue. Our inflatable hot tub patch kit guide covers locating and repairing common leaks.
DIY Projects to Skip
Some ideas look clever online but create more risk than value. These are the projects we would leave out of an inflatable hot tub setup unless the spa manufacturer specifically supports them.
- DIY heater upgrades: Do not replace or modify the factory heating system to increase temperature or heating speed.
- Added jets or pump modifications: The air and filtration systems are designed as matched equipment. Modifying them can create leaks, electrical problems, or warranty issues.
- Extension cords and plug adapters: Major inflatable spa manufacturers warn against them. Use the electrical arrangement required by your model.
- Pallets as a direct spa base: Gaps, movement, nails, splinters, and uneven load paths make loose pallets a poor direct support surface.
- Unverified DIY decks: Do not rely on generic joist spacing or footing depth from a blog. A filled spa is a heavy concentrated load, and deck requirements depend on the structure, soil, span, local code, and exact spa weight.
- Structures that trap the pump: If a surround blocks filter service, drain access, ventilation, or winter removal, redesign it before building.
How to Choose the Right Project for Your Setup
Start with the problem that annoys you most rather than trying to rebuild the entire area at once.
| If your problem is… | Start with… |
|---|---|
| The ground feels rough or unstable | Base and protective underlay |
| Neighbors can see the spa | Freestanding privacy screen |
| Towels end up on chairs or the ground | Towel station and storage bench |
| The entry area gets slippery | Non-slip path and proper spa steps |
| The spa looks temporary | Removable partial surround |
| The area is hard to use at night | Solar or battery lighting |
| You keep getting small air leaks | Repair station and compatible patch kit |
Inflatable Hot Tub Project Safety Checklist
- The spa sits on a firm, smooth, level surface approved for the model.
- An elevated deck or platform has been verified for the filled spa load.
- The factory power cord reaches the required grounded outlet without an extension cord.
- The GFCI or RCD protection is tested as the manufacturer directs.
- The pump, filter, drain, controls, and cover remain accessible.
- No furniture or surround panel presses against the inflatable wall.
- Walking surfaces are stable and slip resistant.
- Plug-in lights and appliances are kept away from the wet area.
- The setup follows the spa manufacturer’s clearance and installation instructions.
Frequently Asked Questions
What is the best DIY project for an inflatable hot tub?
Start with the base and walking area. A firm, smooth, level support surface and a non-slip route into the spa solve more practical problems than decorative upgrades. After that, add privacy, storage, lighting, or a removable surround.
Can I put an inflatable hot tub on pallets?
Loose pallets are not a good direct base for an inflatable spa because gaps, rough edges, movement, nails, and uneven support can damage the liner or create an unstable load path. Use a continuous, level support surface allowed by the spa manufacturer.
Can I build a deck around an inflatable hot tub?
You can build a surround or deck area around the spa, but do not assume the deck can support the filled tub itself. If the tub will sit on the deck, have the structure checked for the exact filled load. Keep service access around the pump, drain, and liner.
Can I use an extension cord for an inflatable hot tub?
Major inflatable spa manufacturers such as Bestway and Intex warn against extension cords. Follow the electrical instructions for your exact model and use the properly located grounded outlet and GFCI or RCD protection the manufacturer requires.
Can a surround touch the inflatable hot tub wall?
It is better to keep a freestanding surround independent from the soft wall. Do not fasten structures to the liner or use the inflatable wall to support benches, shelves, steps, or tables. Leave the clearance and service access required by the manual.
Build Around the Spa, Not Into It
The most successful DIY inflatable hot tub projects make the space safer, more private, and easier to use while leaving the factory spa system alone. Start with a proper support surface, then add freestanding improvements such as privacy, storage, lighting, a cover station, or a removable surround.
If a project changes how the spa is supported, powered, heated, filtered, or structurally restrained, stop and check the manufacturer instructions before continuing. That simple rule separates a useful backyard upgrade from a project that can create a bigger problem.
For electrical safety around spas, see the U.S. Consumer Product Safety Commission guidance. For water temperature and sanitizer safety, the CDC hot tub safety guide recommends a maximum water temperature of 104°F and regular testing of sanitizer and pH.