Wood-Burning Barrel Sauna Guide: Stove, Chimney & Safety

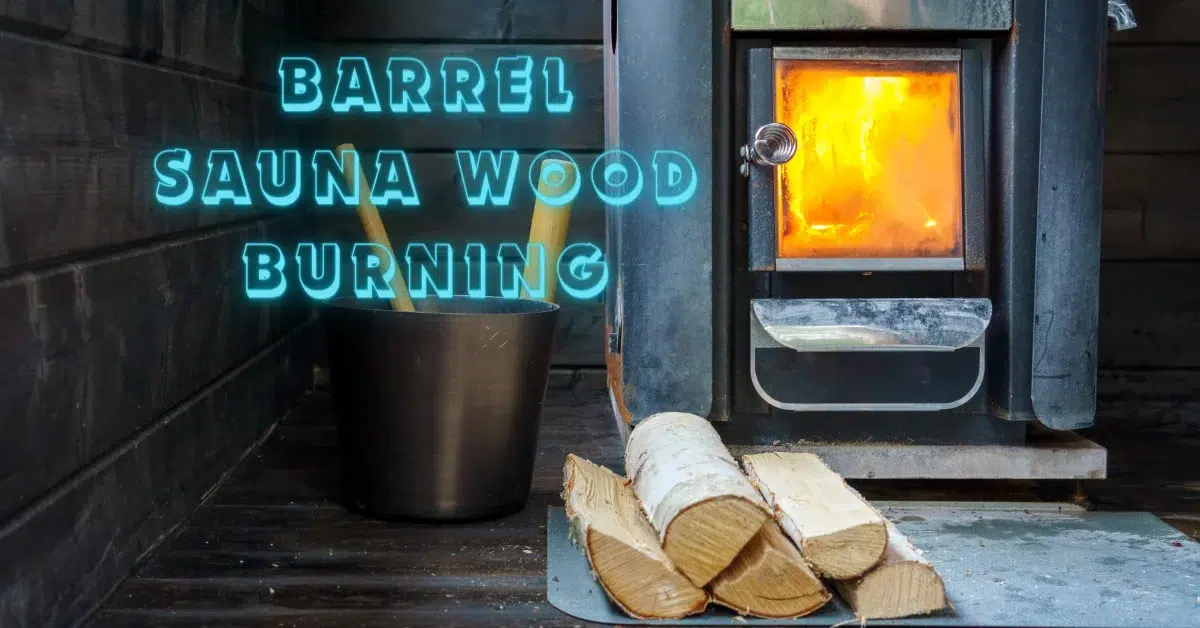
A wood-burning barrel sauna combines a compact wooden enclosure with a solid-fuel sauna stove. It can suit sites where the ritual of tending a fire matters or electrical service is impractical, but it requires more installation planning and ongoing supervision than an electric heater.
This page focuses only on the stove, chimney, ventilation, fuel, and fire-safety decisions. For the enclosure’s general design and sizing, use the barrel sauna guide. If you are comparing complete packages, see the barrel sauna kit checklist.
Wood-Burning vs. Electric in a Barrel Sauna
| Wood-burning stove | Electric heater |
|---|---|
| Requires fire building, dry fuel, ash handling, chimney service, and active supervision | Offers convenient controls but requires the specified electrical service and professional wiring where required |
| Needs approved clearances, hearth or wall protection, combustion air, and a listed chimney system | Needs model-specific clearances, control and sensor placement, and a correctly sized circuit |
| Heat-up and fuel use vary with weather, wood, draft, stove, and sauna construction | Energy use can be estimated from rated input and operating time |
| May suit remote sites when the entire installation is permitted and approved | Often simpler where adequate electrical capacity is already available |
Wood is not automatically cheaper, greener, or more efficient. Those outcomes depend on the appliance, fuel source, combustion quality, local energy mix, maintenance, and how often the sauna is used.
Choose a Listed Sauna Stove for the Actual Room
Start with the barrel sauna’s interior volume and the heater manufacturer’s calculation method. Glass, masonry, or other uninsulated surfaces may increase the effective volume under that method. Select only a stove whose approved room range and installation configuration fit the enclosure.
Do not transfer a clearance, stone load, flue size, or room-capacity number from another model. Harvia’s own wood-heater pages, for example, publish different room ranges and clearances by model and tell buyers to check the current manual. Its wood-burning heater selection guidance likewise starts with measured sauna volume and safe fit.
Plan the Stove and Chimney as One Approved System
The stove, connector, chimney sections, ceiling or wall pass-through, flashing, supports, cap, and any heat shields must be compatible with one another and approved for the installation. A barrel roof’s curve and combustible staves make improvisation especially risky.
- Use the current stove, chimney, and sauna-kit manuals together.
- Confirm the permitted flue route and every required support, penetration component, and weather seal.
- Have the local authority determine permits, inspections, termination rules, and any spark-arrestor requirement.
- Use a qualified professional for the stove and chimney installation. A kit’s pre-cut hole does not make the installation self-certifying.
Clearances, Hearth, and Wall Protection
There is no single safe clearance for every sauna stove or chimney. Use the exact dimensions in the appliance listing and manuals, then apply any stricter local rule. Measure from the surfaces and components identified by the manufacturer—not from a convenient point on the barrel wall.
Noncombustible floor or wall protection may be required, but a sheet of metal or tile does not automatically reduce a listed clearance. Use only an approved shield or protection assembly, installed with the specified air gaps, fasteners, and coverage. Keep benches, guards, buckets, towels, and stored wood outside the required zones.
Ventilation and Combustion Air
A wood fire needs a dependable air supply, and bathers need the sauna’s designed ventilation. Install the inlet and outlet vents in the positions specified for the particular barrel and stove. Do not assume an electric-heater vent diagram is suitable for a wood stove, and do not close vents to speed heating.
Smoke or persistent odor in the room is not normal. Stop using the sauna, leave the area, extinguish the fire only if it is safe to do so, and have the draft, venting, and chimney inspected. Place suitable smoke and carbon-monoxide alarms in adjacent dry areas as required by their instructions and local code; ordinary alarms may not be rated for sauna heat and humidity.
Fuel and Storage
- Burn only the fuel allowed by the stove manufacturer—typically dry, seasoned firewood for a wood stove.
- Never use gasoline, kerosene, lighter fluid, or another flammable liquid to start or revive the fire.
- Keep firewood, kindling, towels, and other combustibles outside all required clearances.
- Store the main wood supply in a dry, ventilated location away from the sauna and chimney.
The National Fire Protection Association’s wood-stove safety guidance recommends listed stoves, qualified installation, dry seasoned wood, safe ash disposal, and professional chimney inspection and cleaning.
Operating a Wood-Burning Barrel Sauna
- Inspect before lighting. Check the stove, door, connector, chimney, cap, shields, nearby combustibles, vents, and ash level.
- Start the fire as instructed. Use the permitted fuel and ignition method. Keep the stove door closed except when the manual calls for loading or tending.
- Supervise continuously. Never leave the fire or heating sauna unattended. Keep children and pets out of the stove area.
- Control heat through the stove’s approved controls. Do not overfire the appliance or exceed the sauna, stove, stone, or chimney limits.
- End the session conservatively. Follow general sauna safety guidance, leave if you feel unwell, and allow the stove and ashes to cool under the manual’s instructions.
Ash, Stove, and Chimney Maintenance
- Remove ash only when the stove instructions allow it. Put cooled ash in a covered metal container and store it away from buildings and combustible material.
- Inspect door seals, firebox parts, stones, guards, shields, connector joints, flashing, and visible chimney sections on the schedule in the manuals.
- Arrange professional chimney inspection and cleaning at least as often as the manufacturer, chimney standard, insurer, and local code require; NFPA’s consumer guidance recommends annual professional inspection and cleaning.
- Stop use after a chimney fire, smoke leakage, damaged component, unusual draft, or overheating until a qualified professional clears the system.
Wood-Burning Buyer Checklist
- Sauna interior and effective volume calculated under the stove manual
- Listed stove approved for the room and jurisdiction
- Compatible chimney and penetration system
- Documented clearances, shields, hearth, guard, and bench layout
- Ventilation and combustion-air plan
- Permit, inspection, and qualified-installer plan
- Dry-fuel storage, ash container, alarms, extinguisher, and service access
- Ongoing chimney inspection and cleaning budget
A seller’s claim that installation is “straightforward” is not a safety specification. Purchase only after the sauna manufacturer, stove documentation, chimney documentation, installer, and local authority agree on the complete configuration.