

Barrel Sauna Kit Guide: Choosing, Site Prep & Assembly

A barrel sauna kit packages the enclosure parts for on-site assembly, but “kit” does not always mean complete or plug-and-play. The heater, controls, wiring, chimney, roofing, foundation, delivery equipment, and permits may be included, optional, or entirely separate.
This guide is a buying and installation checklist. For the shape’s general pros, cons, sizing, and care, start with the barrel sauna guide. For a stove-specific installation, use the wood-burning barrel sauna guide.
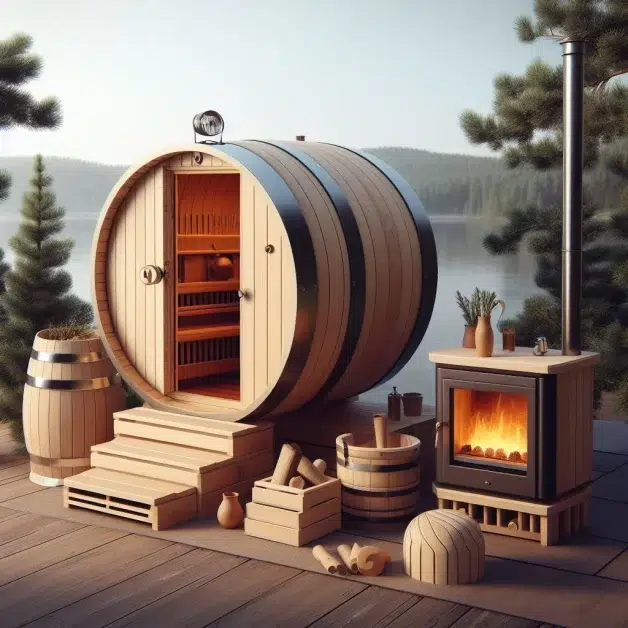
What a Barrel Sauna Kit Should Include
A typical enclosure kit may include wood staves, circular end-wall sections, cradles, metal bands, a door, benches, fasteners, trim, and vents. Some packages add a heater and stones; others list them as options. Treat the manufacturer’s current packing list as the authority.
| Confirm in writing | Why it matters |
|---|---|
| Enclosure parts and hardware | Fasteners, bands, trim, floor boards, and bench supports vary by package. |
| Roof or weather covering | A bare stave shell may need a compatible roof system in wet or snowy climates. |
| Heater, controls, stones, and guard | These must match the room volume and approved installation. |
| Electrical or chimney components | Power cable, disconnects, controls, flue sections, flashing, shields, and labor are often separate. |
| Delivery method | Curbside freight can require unloading equipment and a clear route to the build site. |
| Warranty and replacement parts | Confirm coverage for wood movement, glass, heater, controls, and owner assembly. |
Choose Size by Usable Space, Not Marketing Capacity
Compare interior bench length and depth, shoulder room at the curved walls, entry clearance, and the heater’s protective zone. If you want to lie down, measure the bench rather than assuming a “four-person” kit is long enough. Porch and changing-room extensions add exterior depth and may affect the base and delivery route.
Record the actual interior volume and all glass or uninsulated surfaces. Use the sauna and heater manufacturers’ calculation method; some manuals adjust effective volume for heat-loss surfaces. Do not choose an electric heater or wood stove from a generic capacity chart alone.
Heater Compatibility Checklist
Electric heater
- Confirm the heater model is approved for the sauna’s calculated volume and intended location.
- Verify voltage, phase, breaker, conductor, control, sensor, and disconnect requirements from the current manual.
- Plan the cable route before assembly and use a licensed electrician where required. Do not place ordinary wiring or controls in the hot room unless the product documentation permits it.
- Follow the exact heater clearances and guard instructions; model-to-model values differ.
Wood-burning stove
- Buy a sauna stove and chimney package specifically approved for the enclosure and jurisdiction.
- Confirm room volume, stove clearances, hearth and wall protection, chimney routing, roof penetration, combustion air, and vent locations before ordering.
- Check whether the kit’s wood-stove option changes the floor, benches, wall panels, or roof parts.
- Use qualified installers and the local authority having jurisdiction for permits and final approval.
Foundation and Site Preparation
The site must keep the sauna level, stable, and out of standing water. Acceptable bases differ by kit and location. A concrete slab, compacted aggregate with pavers, or a properly engineered deck may be suitable only when it meets the manufacturer’s support layout and local structural requirements.
- Check zoning setbacks, building or electrical permits, utility clearances, and property restrictions.
- Verify drainage, frost movement, snow load, wind exposure, and roof runoff.
- Mark the cradle positions and total footprint from the current drawing—not a retailer’s summary dimensions.
- Allow safe service access around the heater, controls, chimney, and exterior bands.
- Confirm that freight can reach the property and that people or equipment can move every package to the site.
Manufacturer instructions should decide the base, not a universal rule. The Almost Heaven sauna manual library, for example, emphasizes a solid base and advance electrical planning; use the manual for the exact kit you purchase.
A Practical Assembly Sequence
- Inventory before the build. Match every package, board, fastener, band, glass part, and accessory to the packing list. Photograph damage before assembly.
- Verify the base. Check level, drainage, cradle spacing, and final orientation, including the door swing and heater service area.
- Follow the stave sequence. Install cradles, bottom staves, end walls, remaining staves, bands, and trim in the manual’s order. Do not improvise fastener lengths around glass or heater zones.
- Fit doors, benches, vents, and roofing. Confirm door operation and bench support before installing the heater.
- Complete regulated work. Have the specified electrician, chimney professional, or other qualified installer complete and inspect the heater system.
- Commission the sauna. Recheck bands, vents, guards, sensors, stones, control operation, and manufacturer start-up steps before the first occupied session.
Common Barrel Sauna Kit Mistakes
- Comparing kit prices without adding freight, site work, roofing, heater, professional trades, and permits.
- Choosing by person count while ignoring usable bench dimensions.
- Ordering a heater before calculating room volume and heat-loss surfaces.
- Building on an uneven or poorly drained base and trying to correct door alignment with the bands.
- Assuming “DIY” includes electrical, chimney, or code work.
- Sealing or oiling interior wood with a product the manufacturer has not approved.
- Ignoring roof protection, snow, wind, or warranty maintenance requirements.
Installed-Cost Worksheet
Instead of relying on a broad price range, total the quote that applies to your property:
Kit + options + heater system + freight/unloading + foundation/site work + electrical or chimney work + permits/inspection + roofing/weather protection + accessories + applicable tax = estimated installed cost.
Ask which items are refundable, who handles concealed freight damage, and whether self-assembly changes the warranty. For operating expenses, use the heater’s rated input or your measured firewood use rather than a generic annual estimate.
Before You Buy
- Download the current assembly, heater, control, and maintenance manuals.
- Confirm the exact bill of materials and all exclusions.
- Verify site approval, utilities, delivery access, and qualified installers.
- Check replacement-part availability and warranty responsibilities.
- Compare the final installed cost—not just the kit price.